

For the IoT project described here I thought we should go full banana mode and store everything in the cloud. Others have failed and exposed private data, so why should I be any smarter? Let’s do it!
I didn’t really want to host a machine for the sole purpose of this project, so I wanted something that I can do with my website provider. I’ve been a long time customer of all-inkl.com and they offer MySQL databases on their shared server plans. Since I had a couple of unused database slots anyway, this seemed like a good idea.
The solution described below will work with other providers or with your locally hosted MySQL database as well. I’ll just use all-inkl.com as an example.
Setting up the database
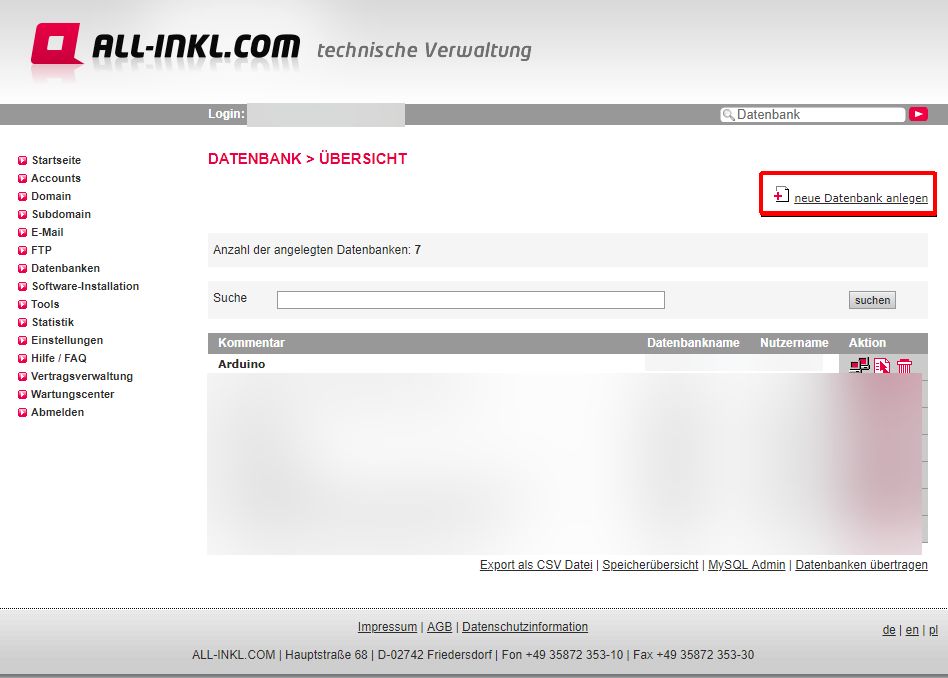
All-inkl.com offers a simple web-interface for creating new databasesas part of their KAS (KundenAdministrationsSystem):
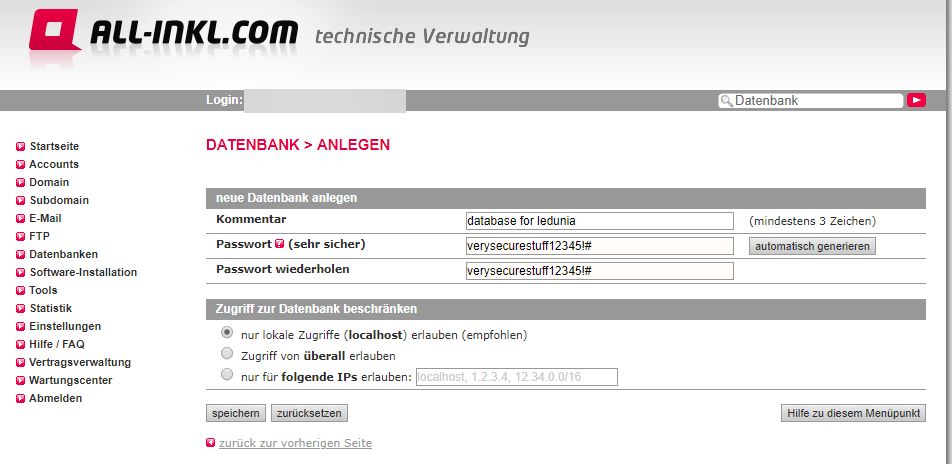
Simply add a new database and pick a password. Allow access only via „localhost“, this allows only local scripts/processes to access it and no one can try to access the database from the outside via TCP:
Once the database is created, you can access it via phpMyAdmin, also available in KAS. You could do the same with e.g. a Synology NAS for those of you that do not want to put the data online. Here would a be a small how-to.
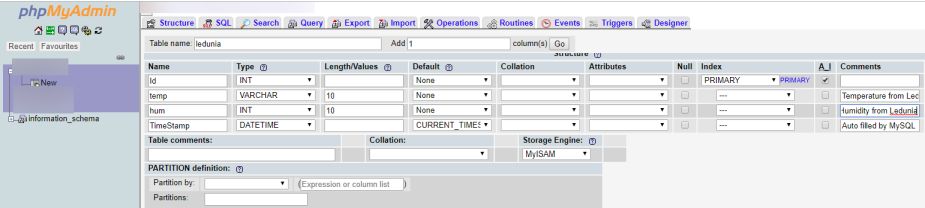
Once you are in phpMyAdmin, create a new table „Ledunia“ for testing purposes. Let’s start with a minimum of data in the table:
- Id – for obvious reasons
- temp – should hold the reported temperature. I don’t know the format yet, so lets go with a tiny varchar(10)
- hum – should hold the reported humidity. Also varchar(10)
- Timestamp – DateTime. This is one isn’t as apart as the other values. Naturally, we need a timestamp with the data if we want to visualize it later. The Ledunia, as most other IoT boards don’t really have a trustworthy time source. So reporting the time when the other values are reported can be tricky. One way could be, given the board is exposed to the internet, getting time from a timeserver on the internet or the LAN, but I find this to be too complex and error prone. I decided to let the database fill the timestamp field automatically if it is not provided. This way the Ledunia can just send temperature and humidity and MySQL will insert it’s local timestamp which is accurate enough for me (Note for later: Timezone may be an issue when displaying it)
So here is the initial layout of the table:
Setting up a REST API
I like REST. It’s still kind of state of the art, it’s light weight and fairly easy to understand. However, I typically code in Windows environments and in C# and since none of that is available from all-inkl.com on a shared server I needed another solution. My knowledge of php is very limited, so I had to look for a existing solution. This seems like a tough one, but actually it isn’t. A couple of years ago I stumbled across a superb API for MySQL (and nowadays also postgre and MSSQL) which is ideal for small projects with simple database structures. I have used it multiple times, with and without authentication.
Maurits van der Schee offers a single file (!) REST-API for databases called PHP-CRUD-API (available on Github). And I think it is brilliant. All you have to do is download the source, take the api.php file and adjust the config seciton at the bottom of it. Like so:
$config = new Config([
	'cacheType'=>'NoCache',
	'driver'=>'mysql',
	'username'=>'admin',
	'password'=>'admin',
	'database'=>'mycloudDatabase
]);
In my case, I just filled in the database details visible in the KAS. Afterwards all you have to do is upload it to your webserver (since v2 of the api PHP 7 is a requirement. V1 runs with e.g. PHP v5). In my case I simply uploaded it to my webserver in a directory of my choice.
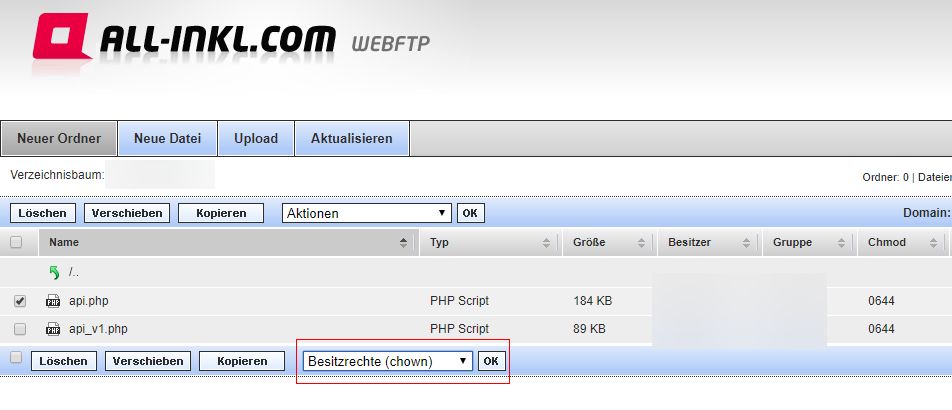
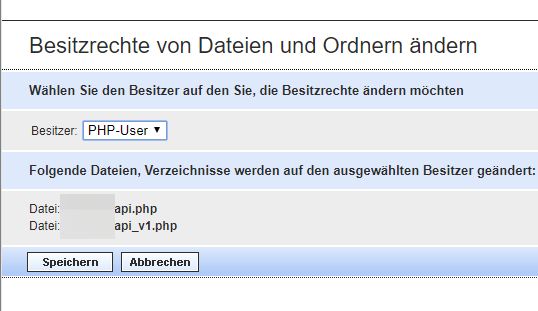
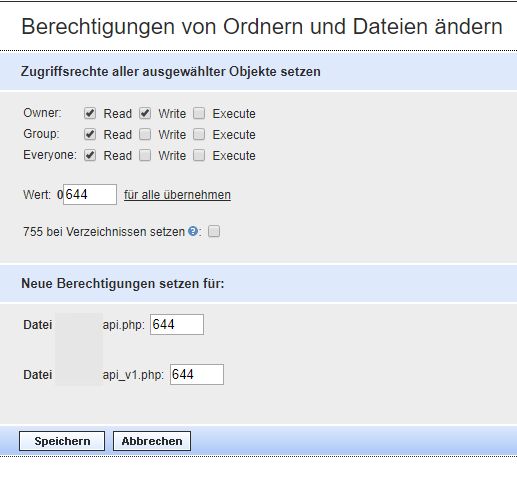
For all-inkl.com users this is very straight forward. Use the FTP in KAS and upload the api.php file to a folder on your webspace. Select the file and alter both the owner as well as the modification rights. Owner should be the php-user (the other option is your generic account from all-inkl.com). CHMOD should be 0644.
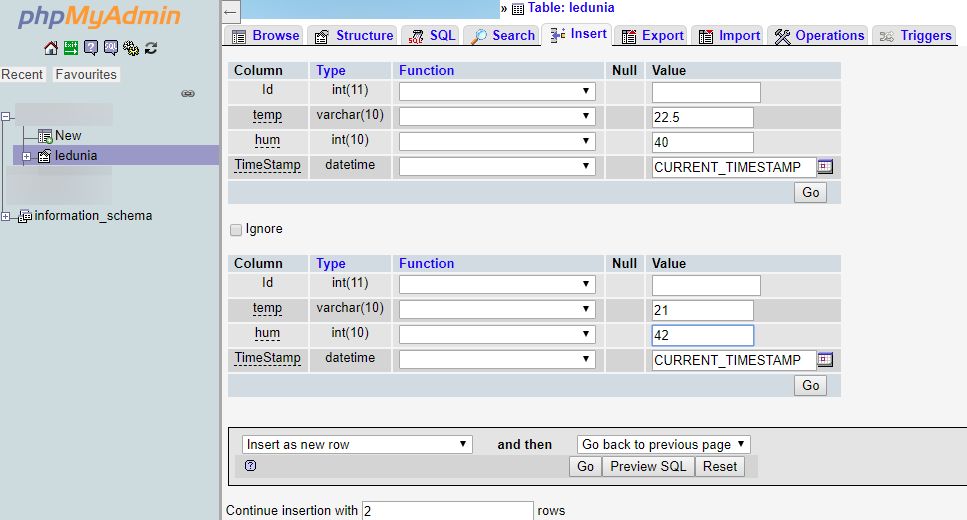
Once that is done, you are ready to go. Before trying whether the API works, lets add some dummy data to our table via phpMyAdmin:
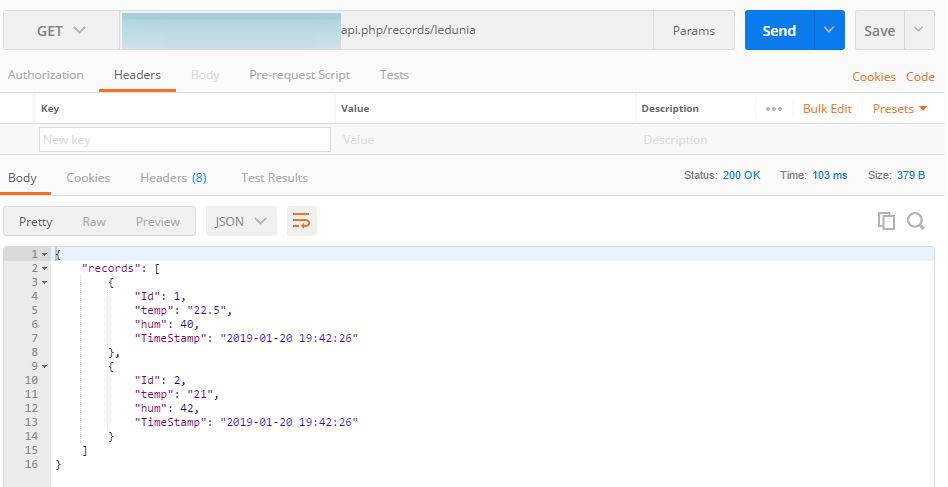
Accessing the data is now very simple. You can either use your browser, or any REST client (e.g. I like Postman). The URL for receiving all available entries of the table „ledunia“ is:
http://yourserver/yourfolder/api.php/records/ledunia/
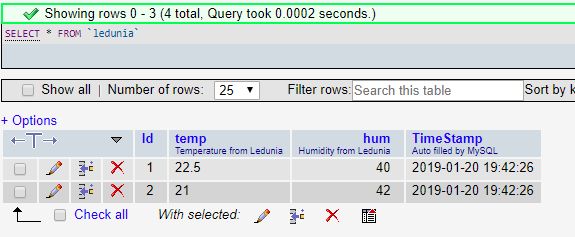
Just perform a GET request. The result should be the content of our table:
And adding data is simple too. Simply perform a POST to the same URL with the data as a JSON object in the body (remember, we don’t have to set the Id or the TimeStamp!)
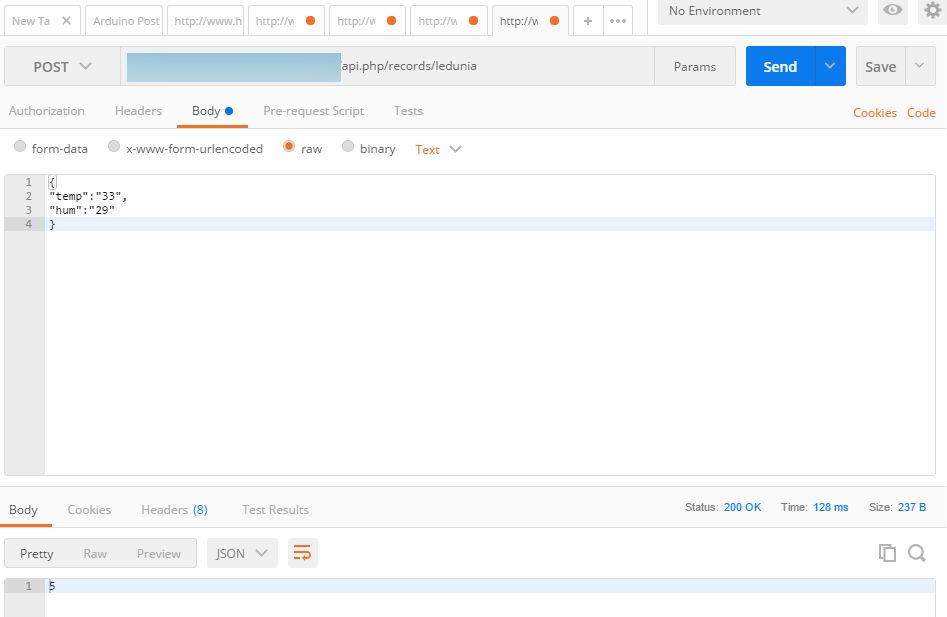
The return value shown below is simply the Id if the newly inserted element.
Wasn’t that easy? Of course, this is not very secure as anyone with the URL could perform actions, but luckily Maurits has us covered. We’ll go over authentication in one of the next articles.
Enjoy.
