

Undeniably, Github is the most popular plattform for your code repositories, regardless of (programming) language or technology.
While there are many other plattforms, including Azure DevOps (previously Team Foundation Server or VSTS), BitBucket, Gitlab, etc., most people have GitHub accounts and public Github repos are a neat way of show casing your work, e.g. when applying for jobs.
As a .NET guy I used to have my code stored on Azure DevOps mostly and also ran my build and test automation there. I wanted to move to Github for a while but found it lacking build and testautomation for .NET projects. With GitHub actions this is slowly changing, at least for .NET Core projects. Nevertheless, I still love what Azure DevOps offers in terms of build and test capabilities for .NET projects.
So here is how to use a GitHub repository for hosting your code, but building and testing the software on Azure DevOps.
Preparing GitHub
- Login in your GitHub account
- Navigate to „Marketplace“

Find the Azure Pipelines extension:
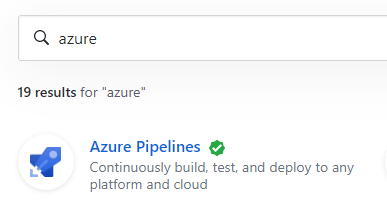
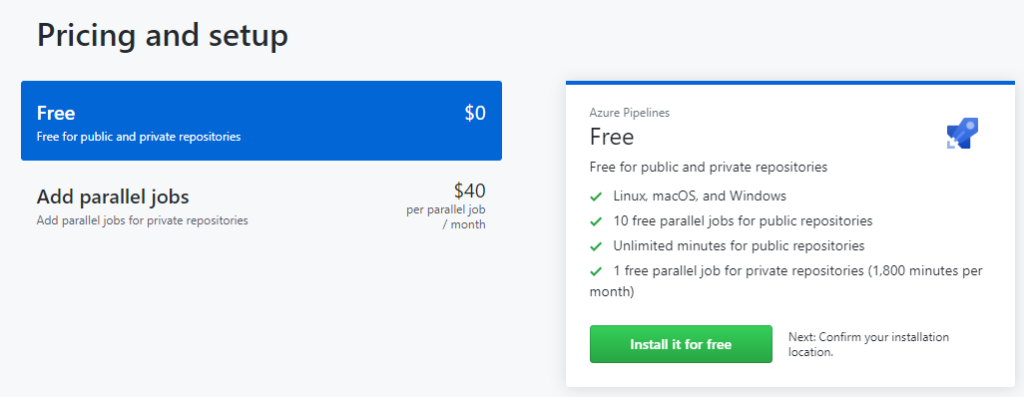
Install the free version. This version is neat for public repositories but has some limitations for private repositories. For the usual personal side project this should be plenty, though
Next you’ll be asked whether the extension should be added to all (present and future) or just selected repositories. Since I rely heavily on Azure DevOps, I added it for all repositories.
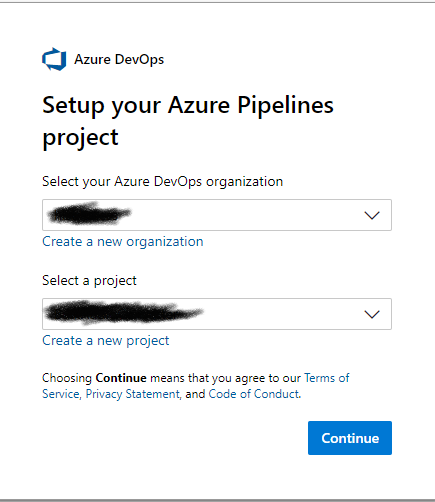
After this step you are refered directly to Azure DevOps. Pick your Azure repository that shall be used for building the code.
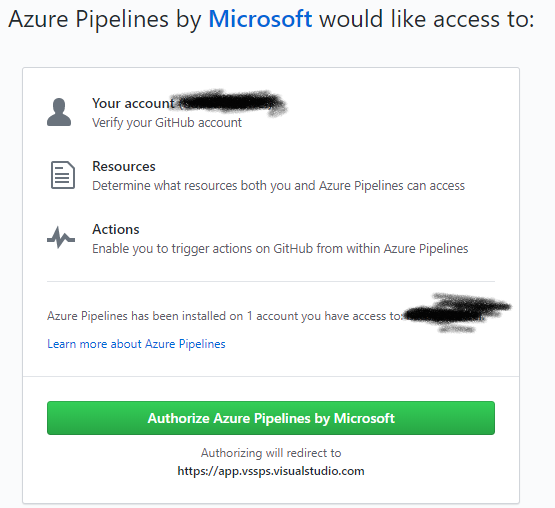
In order for Azure DevOps to be able to checkout your code from GitHub that you have to grant the app access to your GitHub repositories:
Setting up Azure DevOPs
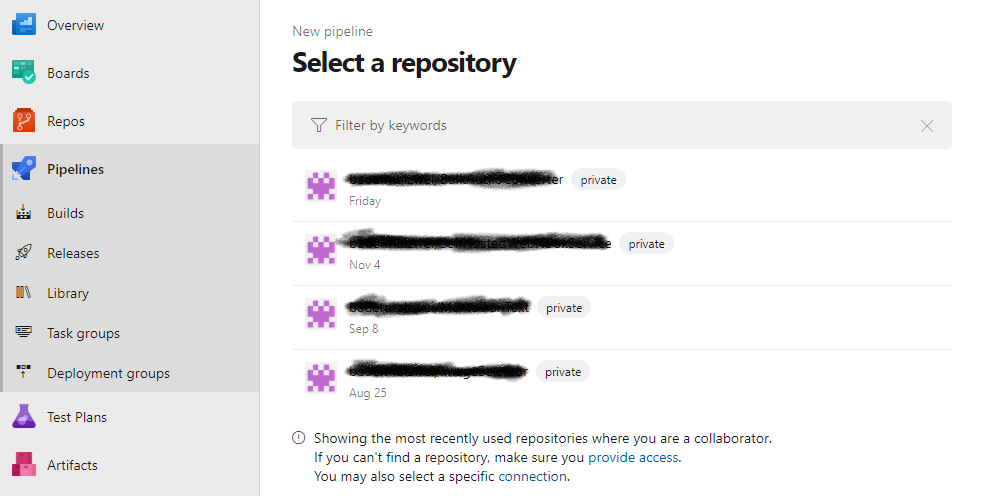
After granting access, you are taken to the Azure DevOps repository selected earlier. In the pipeline configuration you have to select to matching GitHub repository.
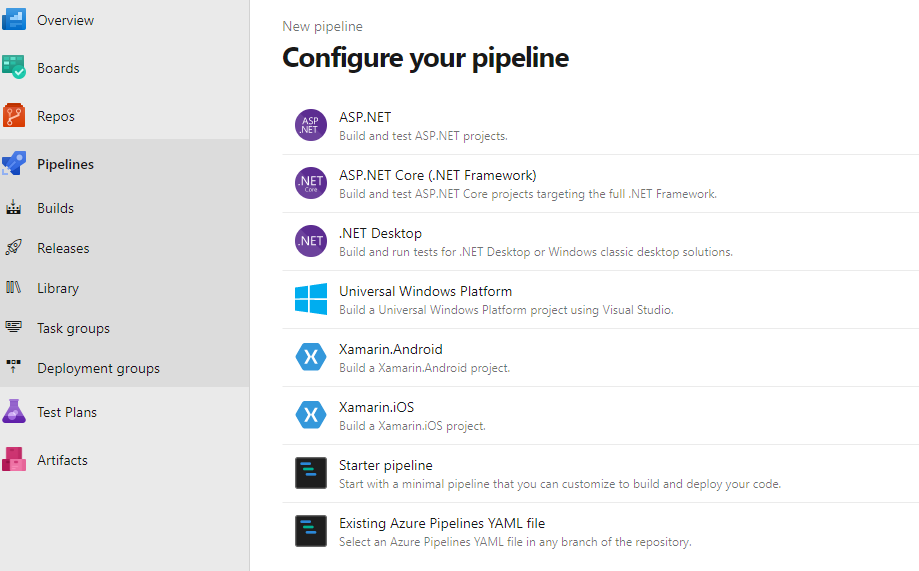
Once that is setup you can finally configure your Azure DevOps pipline for building and testing the Github repository:
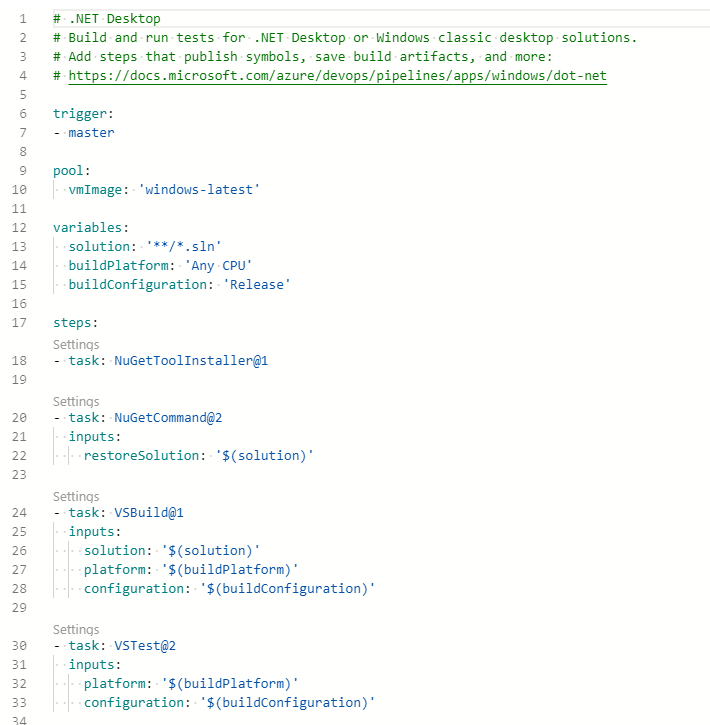
The build and test definition is configured in a .yaml file – here is a basic .NET Desktop example:
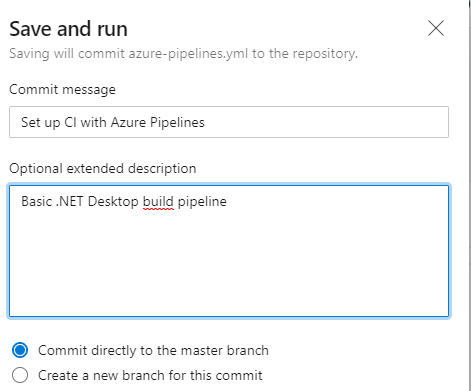
Hitting „Save and run“ allows you to commit the pipeline YAML file to your repository and will tigger the build process:
The commit appears in GitHub as well:

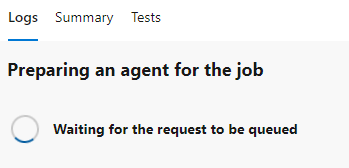
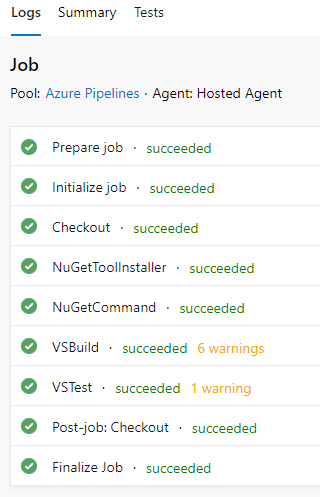
Within Azure DevOps you can then follow the build process which, hopefully will succeed:
And that’s basically it. With every new commit the integration will trigger again and instantly attempt to build your code.
As mentioned earlier, be aware that there are some limitations for private repositories. If you commit often or have large projects that take a long time to build you may want to consider to change the build definition so that the trigger is only triggering on specific branches. Here is more information on the trigger functionality in DevOps.
Visualizing the build status
For visitors of your GitHub repository a build status is a vital sign of health of a project and it’s last commits. Therefore it makes sense to visualize the last build status.
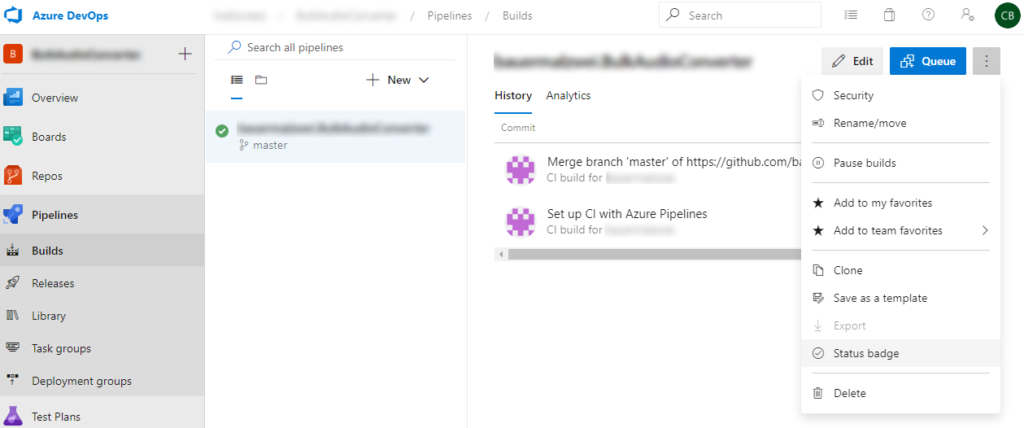
Navigate to your Azure DevOps pipeline for the given project. In the upper right corner there is a menu with an option „Status badge“
Microsoft already offers a sample markdown that is in the correct format and can simple be pasted into your projects readme.md file over at GitHub:
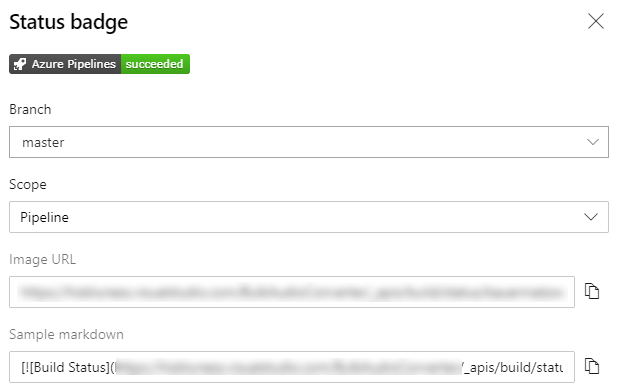
Simply copy the sample markdown and paste it in your readme.md (either directly on GitHub’s webpage or in the IDE or your choice). Once you commit the readme, the status is visible on your GitHub page:

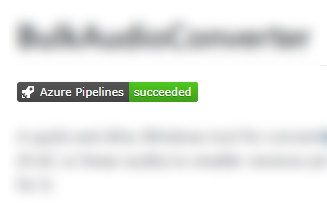
Please note that in order to have the status badge visible, the Azure DevOps project repository you are using must be public and cannot be private. Please refer to this article if you are wondering how you can set your DevOps project to public.
In the next article we are exploring options to make build artifacts (e.g. your executable) available to your users.
